How to install an electric underfloor heating mat
October 31, 2016 Jake
Installing electric floor heating is not a difficult task as long as our step-by-step instructions are followed and you receive the correct advice to get the best underfloor heating for your installation.
Follow the step-by-step instructions below to install your electric underfloor heating system.
 | Step 1 Choose the correct mat and install on the recommended construction. |
 | Step 2 You will need to do the first of three resistance tests before you attempt to start laying any mats to ensure that your warranty is validated and record your resistance on your commissioning record provided with your mat / kit. |
 | Step 3 Carry out the first fix installation for the electrical connections - A qualified electrician will be required for this. |
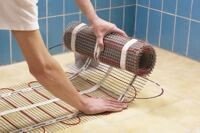 | Step 4 Top tip - Use a thermal substrate insulation board will improve the thermal performance of your underfloor heating system. |
 | Step 5 |
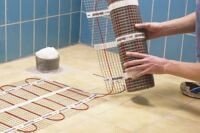 | Step 6 You will need to do the second of three resistance tests after laying the mats, to ensure that your warranty is validated and record your resistance on your commissioning record provided with your mat / kit. |
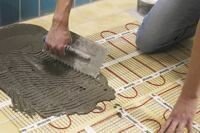 | Step 7 Once you have laid your final floor you will need to do the final resistance test to ensure that your warranty is validated, and record your resistance on your commissioning record provided with your mat / kit. |
Follow all the rules regarding tiling.
Fix the tiles using the correct adhesive. Check with the tile manufacturer and adhesive supplier regarding the most suitable adhesive for your job.
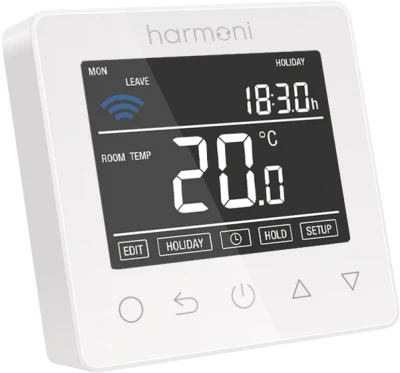
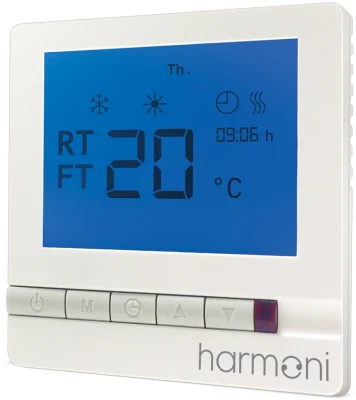
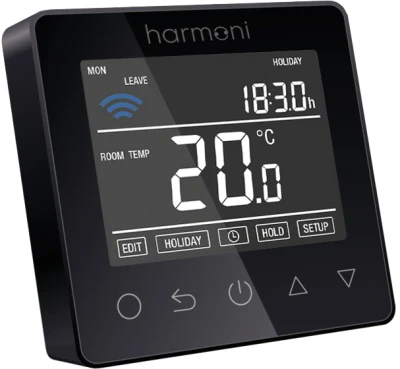
Choose from our extensive range of thermostats and controls to regulate your underfloor heating.
If you have any queries regarding the installation of the electric underfloor heating mat please contact us.


